

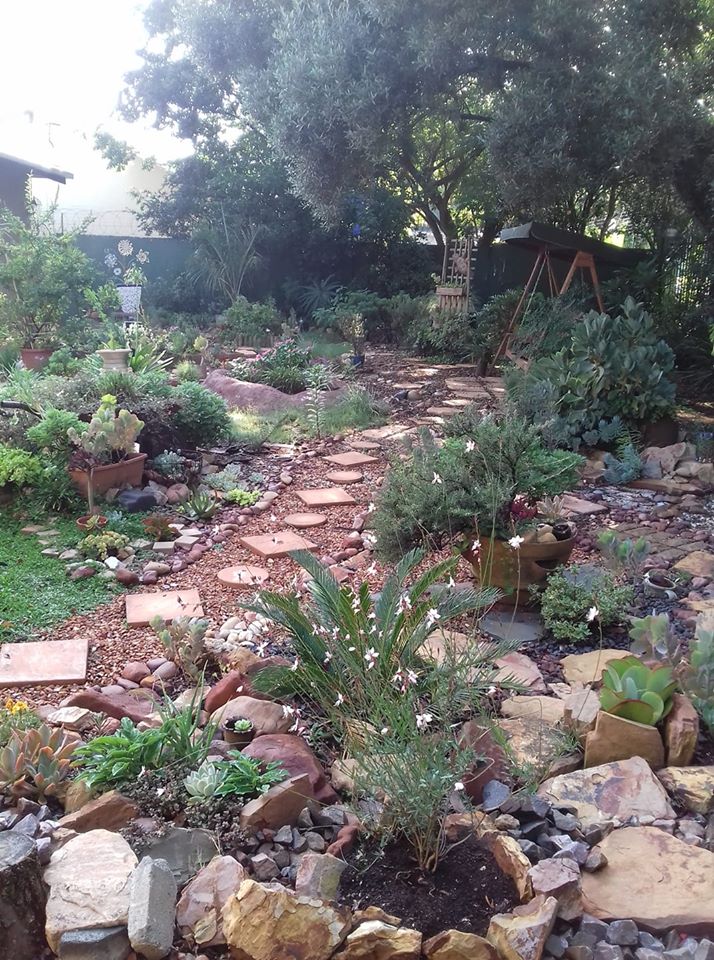
After a quick brush with cancer a couple of years ago, the gardening bug really bit me. When we moved into our house in August 2017, the back garden was a leafy green oasis, but the front was a sea of red earth. Literally. Single handedly I converted that bare earth to the picture below. In those months, I gardened myself back to sanity.
My social media gardening process was a bit like a remote TV series for friends and family around the world. They were quick to tag me on any interesting things that they thought I could incorporate. Some were quite challenging – but I’d change things around – make them my own and stash them in some little niche in the garden. More on that here.
My lovely husband was checking Facebook one evening-he pounced on a YouTube video and called me over to watch it. It was a fountain for a fish pond that involved cement and polystyrene blocks that were covered with a sort of calico cloth.
Oooh! I exclaimed I can do that. I dashed off to the hardware store and bought 1kg of cement. I wasn’t entirely sure what I was going to make, but sure as hell, it was going to be something a lot cooler and less square.
Around about that time my step-son came home with a box of disposable mop caps – the type they use at the hospital when operating. He’s in 4th-year vet school and helps out at a clinic nearby. The hats had expired and were being chucked out. He knows me well.
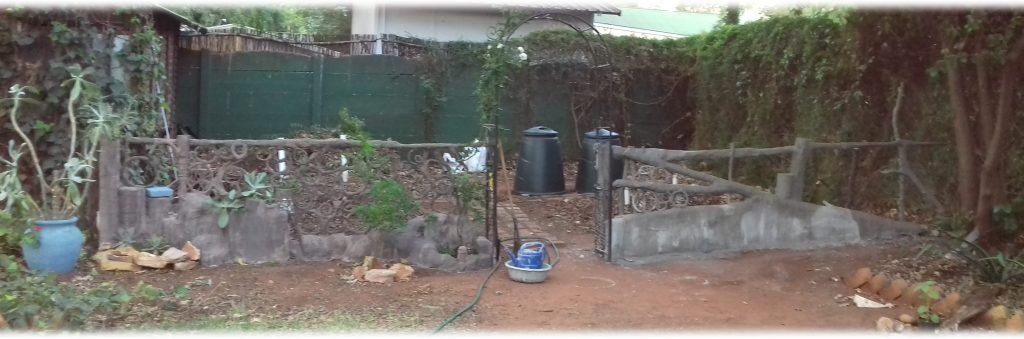
Our little garden fence that hides the heaps of composting leaves looked like this. It had a lovely archway but the fence – eish!
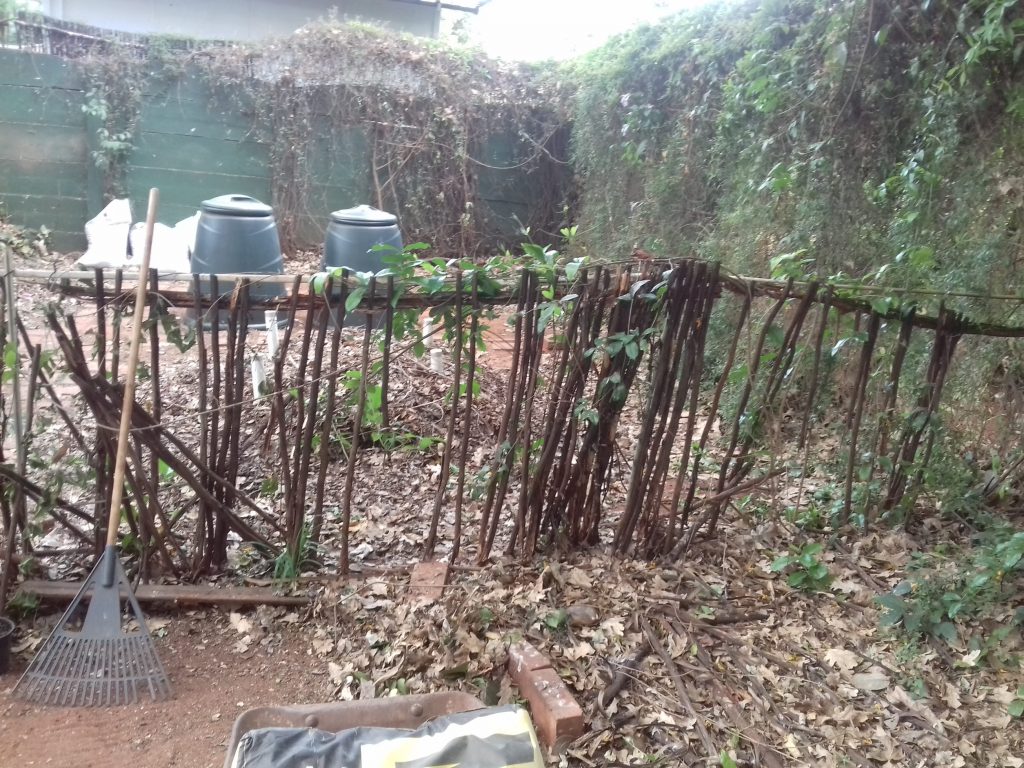
We have trees in our garden. Lots and lots of trees which dump literally millions of leaves each year. It’s a never-ending job gathering them up but the end result compost is awesome. Figured I would fill the hats with leaves, pile them on top of each other and cover the whole lot with cement. The video said that the cement should be a wet sludgy consistency that you painted liberally onto the cloth.
Never being one to try things on the small scale first, I decided to make a new fence.
Filled up the hats with leaves and piled them precariously on top of each other. Then slopped on the wet cement. I sloshed some water into a bucket and added cement until the mixture looked sloppy enough. Note: no sand needed in this mixture.
At this point I should tell you that washing up gloves are rather useless, they break very easily, and those heavy-duty black ones only seem to come in XL and XXL. My hands are small. I went through several pairs of gloves.
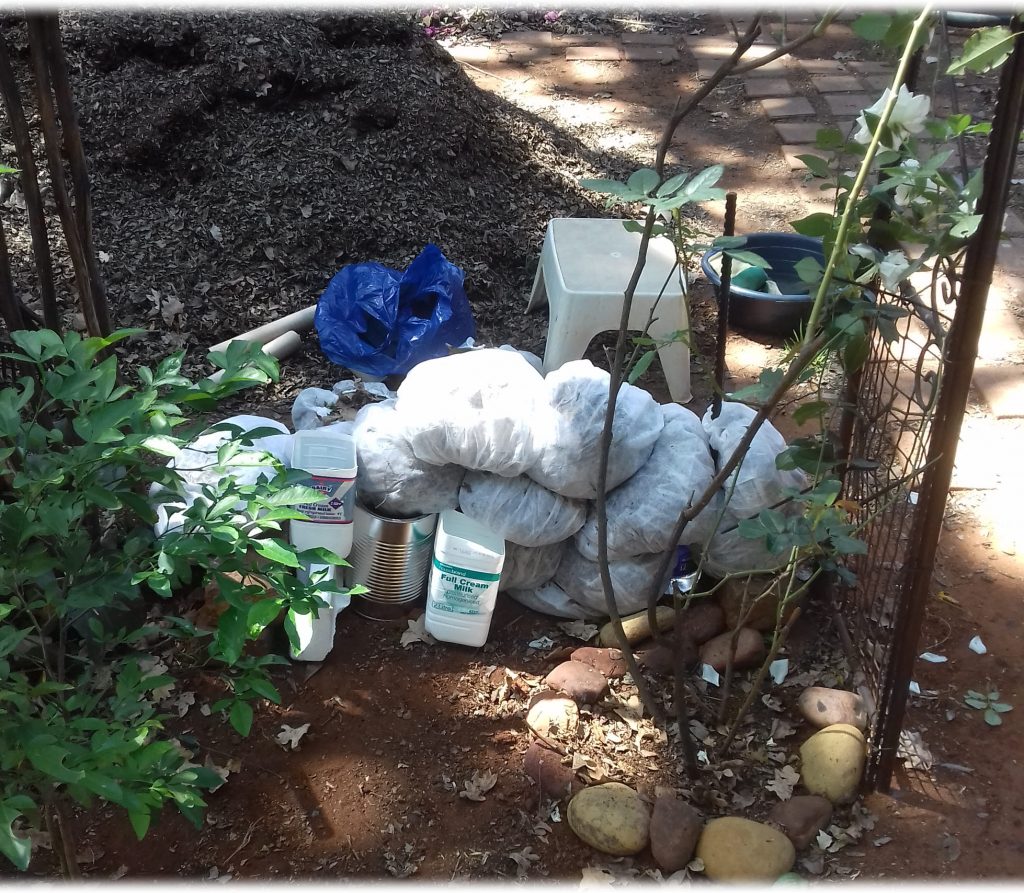
I quickly realised that I did not have enough hats, and the amount of cement I’d bought was totally ridiculous. Tootled off to the hardware store and got a 50kg bag. Of course, that posed a problem too (a) how to get it out of my car when it weighed the same as me, and (b) where to store it so that it stayed dry – this was October and we were approaching our rainy season. We made space in one of the wendy houses.

I used bricks that were lying around and incorporated some plant pot-type things into the fence. Big coffee tins are useful, too.
I’d left the horizontal rail on the fence, and quickly realised that it would take forever to build it up to that level, so decided to get creative.
My daughter makes the most divine dream catchers and often uses ivy vines for the base. I did the same and covered them with calico. I dipped the calico-wrapped circles in the cement and hung them up to dry. Quickly discovered the material was not absorbant enough and all the cement simply (and sadly) crumbled off. I think the material I had was not pure cotton – more nylon-based.
Remembered I had metres and metres of weed cloth (Bidim) that I’d given up using in the front yard (involved way too much planning for my pantser gardener soul).

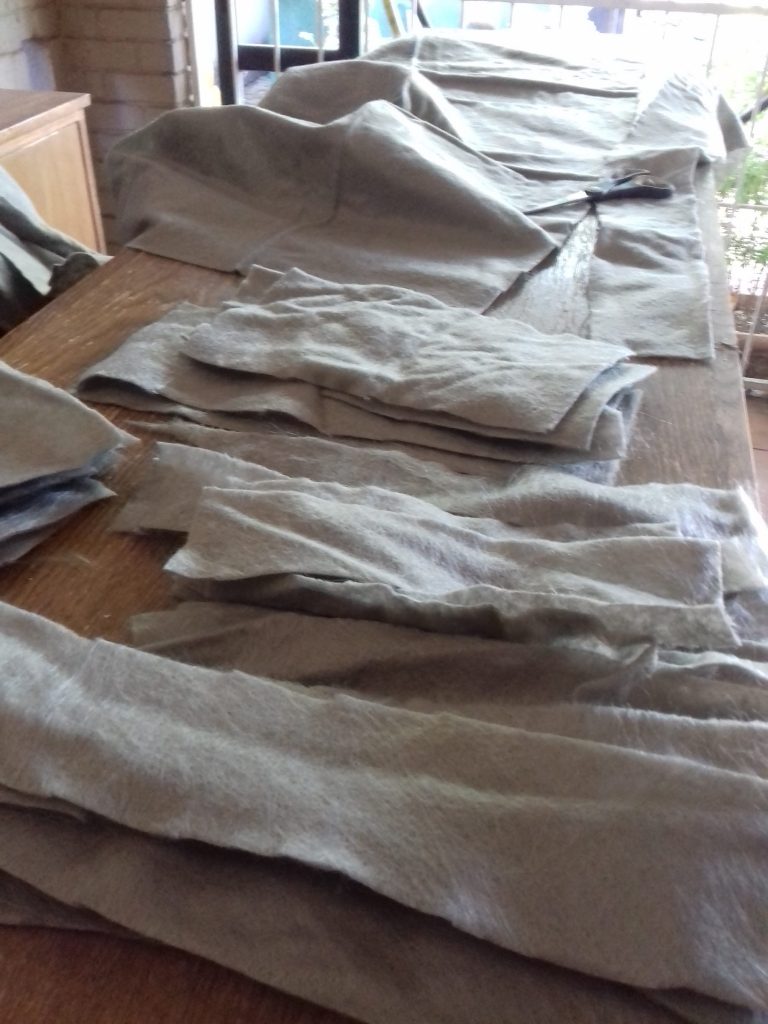
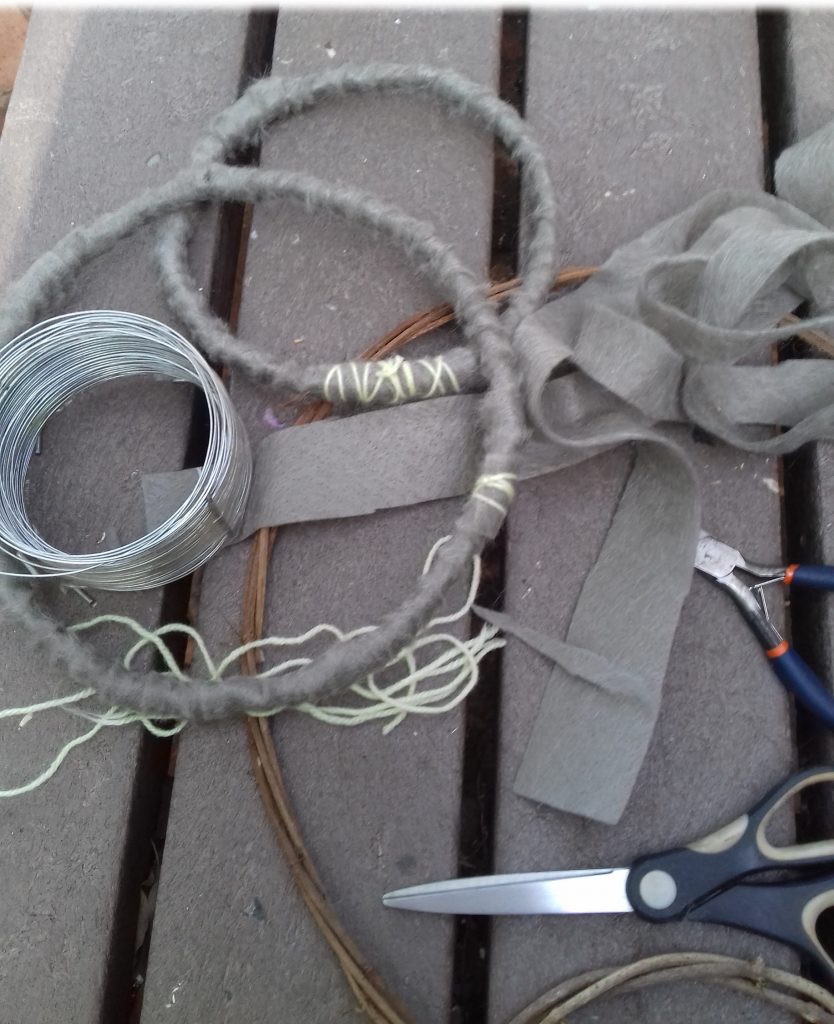

Discovered that the weed cloth covered in cement hardened to an almost fibreglass consistency when it dried.
I cut a supply of strips and squares of various lengths and sizes. (Somehow, no matter how many you cut, you never have enough.)
To begin with, I layered the strips onto the base and painted them with cement. This was laborious, and I quickly realised I could soak them in the cement mixture and then either wrap the skinny bits or apply the same technique as papier-mache for the larger bottom bits. You do need to do a couple of layers for strength.
I filled in the gaps with boxes and plastic bottles, stuffed bits of cardboard in-between and taped it up where necessary so it did not fall to pieces. (Sorry – I forgot to take photos after a while – it’s a messy business).
I’d ripped out most of the old fence. A mistake, I discovered, because having a few supporting structures, albeit termite-chewed ones, would have been rather useful. I didn’t make the same mistake on the other side. Wrapping them with cement soaked cloth restored them to their former glory.
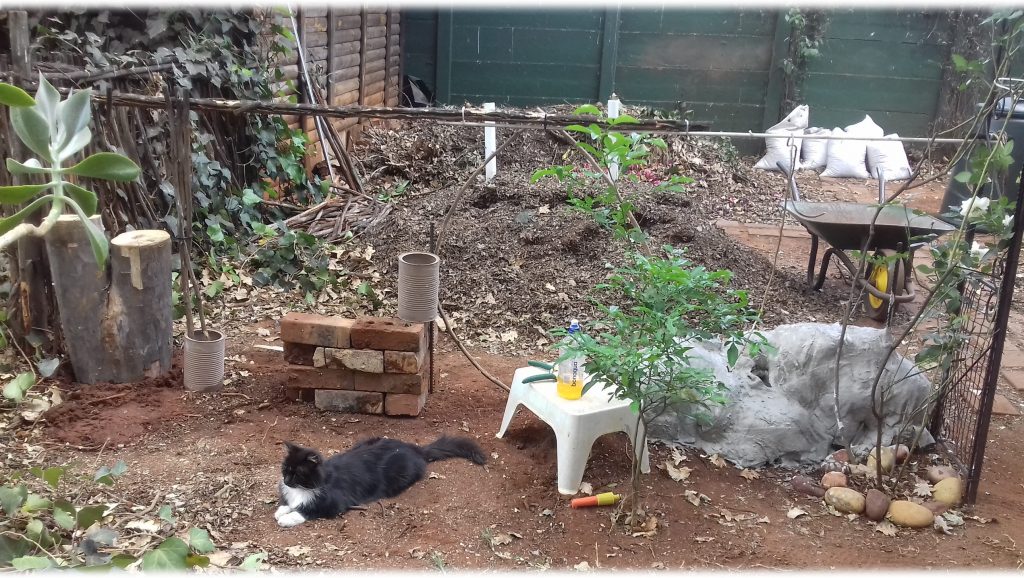
As you can see, Jack, our rescue cat, did quality control every step of the way.
Because I’m compulsive and could not wait to see the end result, the first side of the fence took about three days to complete, allowing for drying time in between.
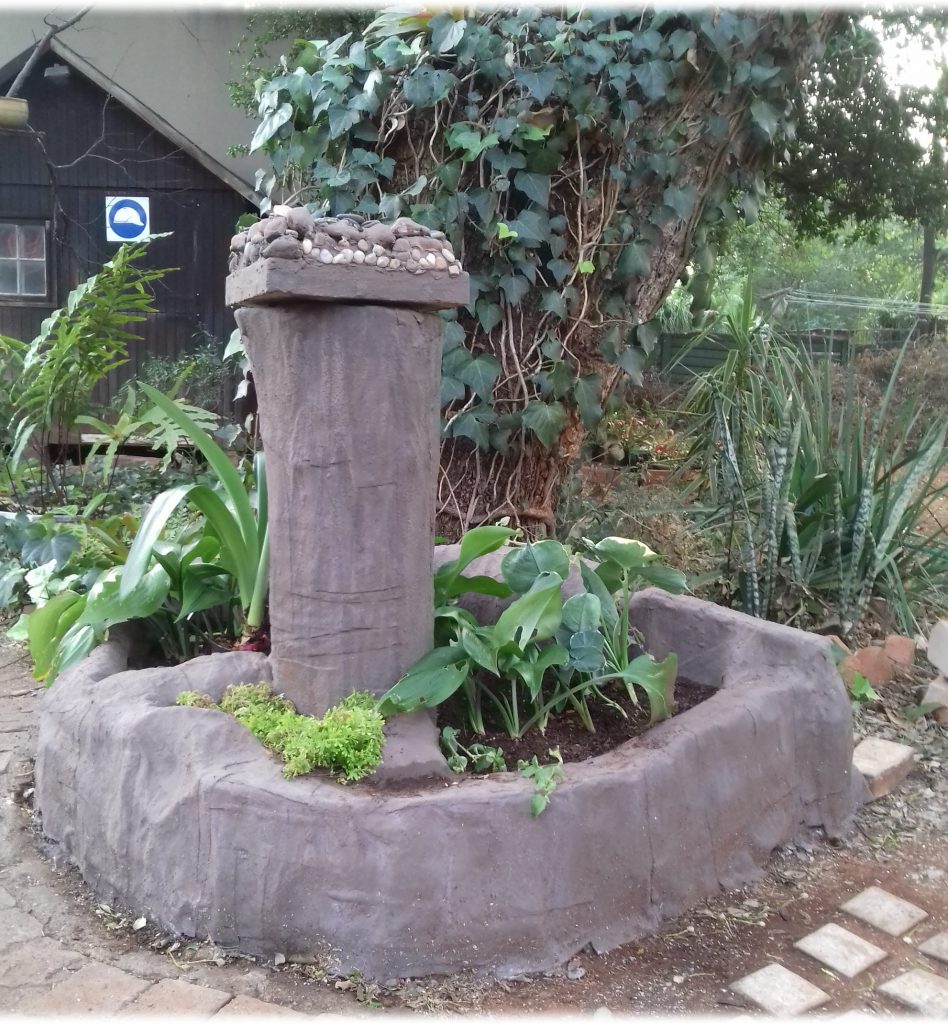
Once it was dry, I painted it all with a sloppy mixture of dark brown grout and tile bond to make sure that it was totally waterproof. Not sure that you need to do this – but the grey cement colour was ugly, and grout comes in nice colours. You can mix up different coloured grout to get different effects.
Must also say – it was a tad scary working down in this area of the garden. There are loads of spiders, bugs and other creepy crawlies that regularly came to see what I was doing. One afternoon, a large, long-legged bright green spider scuttled out of the section I’d made the previous day, whizzed straight over my foot and dashed to safety. My heart nearly attacked me.
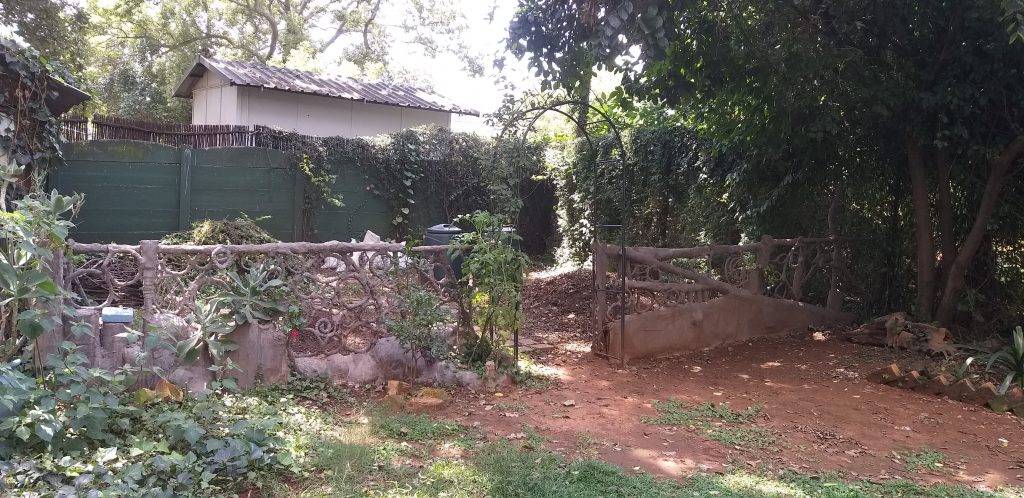
We had some tree branches stashed from when one of our Japanese Stinkwoods had come crashing down earlier that year, and I used those on the other side, wrapping them completely in a couple of layers of cement weed cloth. Then filled in the gaps with more curly stuff. It is easier to make these first and then attach them when they are dry – also using cement cloth. Those big flat bits at the bottom were pizza boxes.

The end result is rather effective. It’s now six months old and still rock hard, has been rained on, bird-pooped on and the summer sun has beat upon it fiercely. The plants have grown in their pots and all manner of creatures hang out on it. (We just need to get the grass to grow under that tree now.)
By the way – that fence probably cost less than R500 (excluding my time).
Just to show you the versatility of this method – I then went on to make this birdbath and flower bed for the Easter Lillies that needed some space. This took a day to make. One to dry and a few hours to paint with grout. My lovely husband moaned because the bottom edges were not neat – I just covered those with soil later.
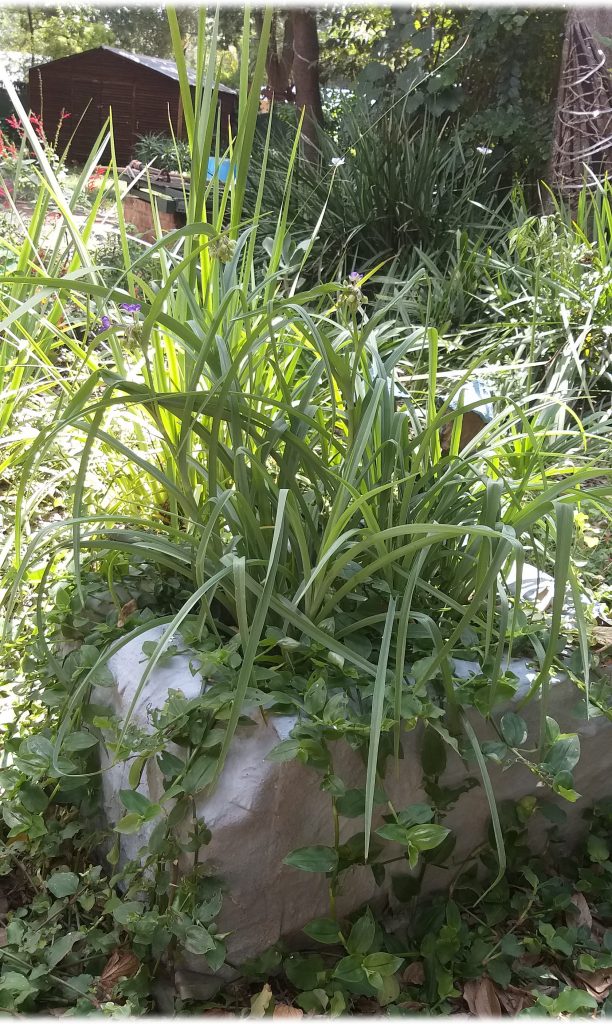
My mom bought some gorgeous purple lilies for my birthday last August and they desperately needed a pot – with all the trees, everything gets root-bound, except the irises and clivias. When I planted them early Feb 2020, they were darn near dead and down to one or two leaves. Look at them now!
This little fairy garden took an afternoon to make.
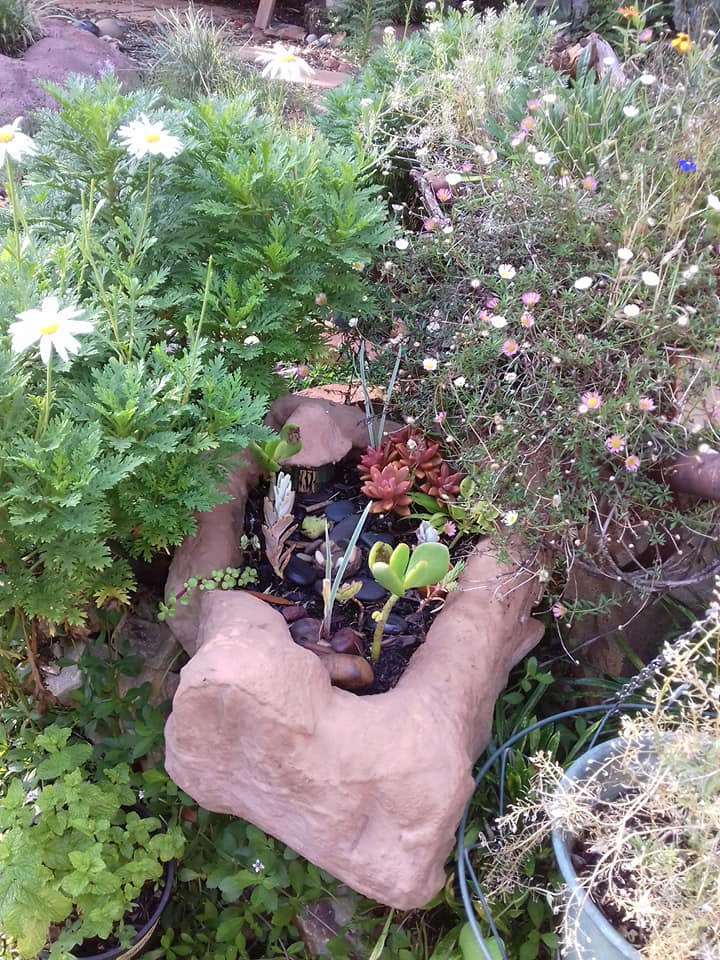
Below is an example of a pot before you slap the cloth on – junk taped together. Those tins will become separate little pots on the side with their own soil. Just remember to make holes in the bottoms.

Built the little gnome homes into the tin – toilet roll inners covered with weed cloth and dipped in cement. The roof is just a semi-circle of cementy cloth.
Covering tins is a great way to start out. Simply cut several strips double the length of the tin (not too wide) soak them in cement and work your way around the tin. (You don’t have to do the bottom. If you do – make the holes while the cement is still wet, otherwise… get your drill out!) Gives a sort of log-like effect. Mosaiced on some stones and stuff for added interest.

This was a store-bought pot that had broken. I simply fixed it with a few layers of cloth. The fire-stick had fallen over, so I thought I’d take a chance, lop it off and see if it would grow. It’s doing great.
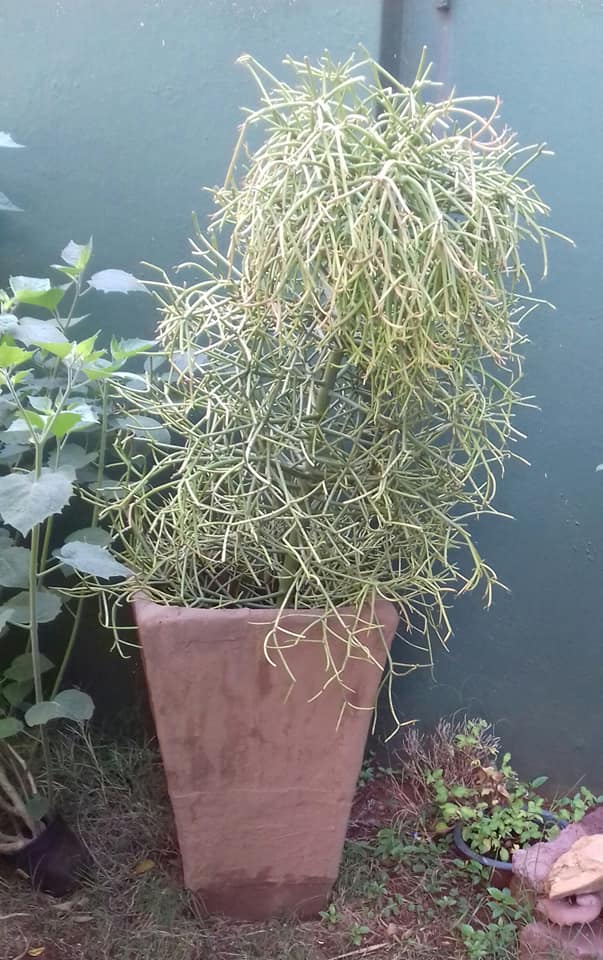
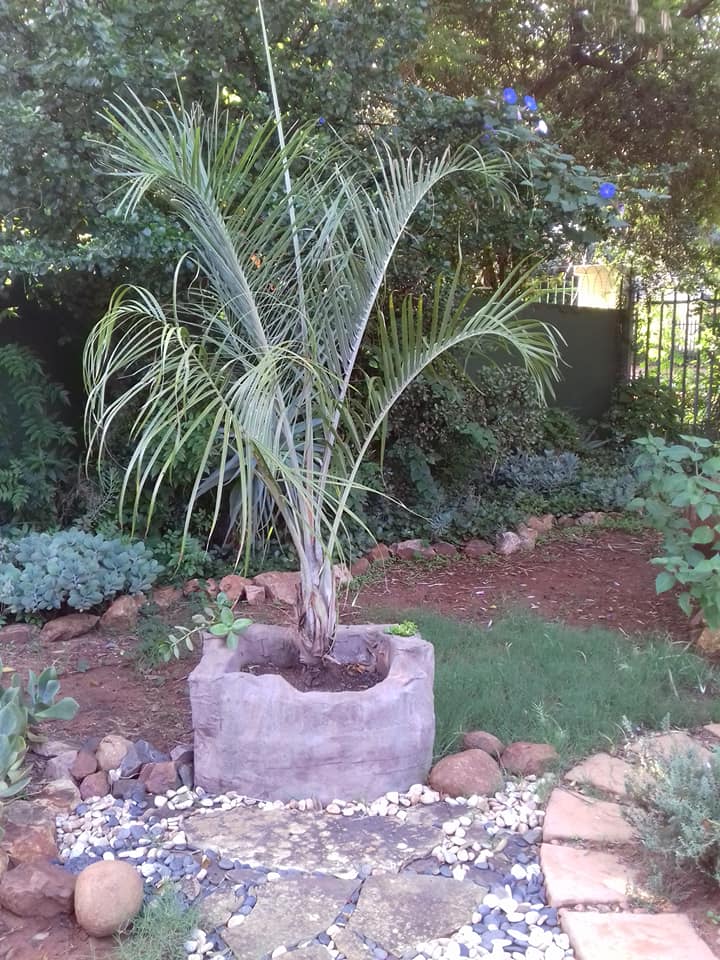
Got gifted this palm earlier this year and it needed a pot – so I made him one. It’s doing really nicely and has new leaves already. As you can see, I built in two separate pots on the corners, so as not to steal the palm’s space but to make the pot look more interesting. We are lucky enough to have succulents galore in our garden, so I just break bits off and stick them into the soil.
Sorry if I got carried away with this blog – the hazards of being a gardener who writes, or is it a writer who gardens?
You are welcome to ask questions.